
This website uses affiliate links which may earn a commission at no additional cost to you. As an Amazon Associate I earn from qualifying purchases.
If you’re planning your first thru-hike, you’ve probably heard about bear canisters and wondered if you really need one. The short answer depends on where you’re hiking, but understanding bear canisters is essential knowledge for any long-distance hiker. This guide will walk you through everything you need to know to make informed decisions about bear-resistant food storage on the trail.
What Is a Bear Canister?
A bear canister (often called a bear can) is a hard-sided, portable container designed to store food and scented items in a way that bears cannot access. These containers are typically made from durable plastic like polycarbonate or carbon fiber and feature locking mechanisms that human hands can operate but bear paws and teeth cannot defeat.
Think of it as a vault for your trail food. The canister protects not just your meals, but also toiletries, sunscreen, lip balm, and anything else with a scent that might attract wildlife.
Why Bear Canisters Matter
Bear canisters serve two critical purposes: protecting bears and protecting you.
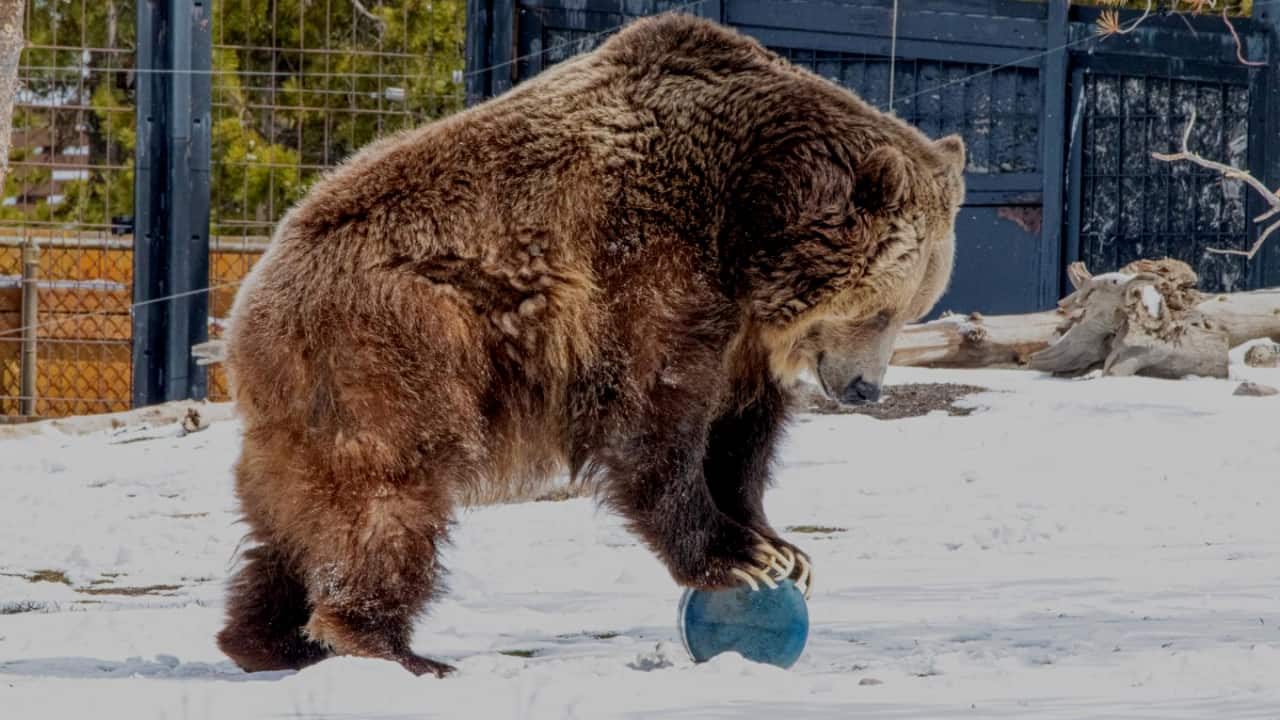
When bears obtain human food, they learn to associate people with easy meals. This behavior, called food conditioning, leads to increasingly bold bears that approach campsites and hikers. These situations often end badly for the bear, as wildlife managers typically relocate or euthanize problem animals. The wilderness mantra “a fed bear is a dead bear” exists because it’s tragically accurate.
For hikers, losing your food to a bear creates a serious survival situation. On a thru-hike, you’re often days from the next resupply point. A bear raid can end your hike or force an emergency evacuation.
Beyond bears, these canisters also deter smaller animals like raccoons, rodents, and foxes that can destroy your food supplies and spread disease.
When and Where You Need One
Bear canister requirements vary by trail and location. Some areas mandate their use by law, while others strongly recommend them.
On the Appalachian Trail, bear canisters are not required for most of the route. The trail provides bear cables, bear boxes, and bear poles at shelters and camping areas through bear-heavy sections. However, some hikers choose to carry canisters for flexibility in camping locations.
The Pacific Crest Trail requires bear canisters in specific sections, most notably through the Sierra Nevada in California (roughly Kennedy Meadows to Sonora Pass). This requirement typically runs from late spring through fall. Many PCT hikers mail their canister ahead to Kennedy Meadows and then mail it home after exiting the Sierra.
The Continental Divide Trail has canister requirements in certain national parks along the route, including sections of Glacier National Park and parts of Colorado.
Before your hike, research the current regulations for your specific trail and time of year. Requirements can change based on bear activity, so check with land management agencies closer to your start date.
Choosing the Right Bear Canister
Several factors should guide your decision when selecting a bear canister.
Volume and Capacity
Bear canisters are measured in liters, typically ranging from 6 to 15 liters. For thru-hiking, you need enough capacity to store 3 to 7 days of food, depending on the distance between resupply points.
A small canister (6-8 liters) works for short trips or sections with frequent resupply. A medium canister (9-11 liters) suits most thru-hikers doing 4 to 5 day stretches. A large canister (12-15 liters) handles longer food carries but adds significant weight and bulk.
Weight
Weight ranges from under 2 pounds for ultralight models to over 3 pounds for traditional designs. On a thru-hike, every ounce matters, but durability and IGBC certification (Interagency Grizzly Bear Committee) matter more than shaving a few ounces with an unreliable container.
Popular Models
The BearVault BV500 (7.2 liters, 2.1 pounds) is the most popular choice among thru-hikers. It’s affordable, reliable, and meets most requirements. The transparent design lets you see contents without opening it.
The Garcia Backpacker’s Cache (6.5 liters, 2.7 pounds) is the original bear canister and remains IGBC approved, though it’s heavier than newer options.
The Bare Boxer Contender (11.5 liters, 1.9 pounds) offers excellent volume-to-weight ratio and is favored by ultralight hikers, though it costs more than other options.
The Lighter1 model uses carbon fiber construction for minimal weight but comes at a premium price point.
How to Use a Bear Canister Properly
Owning a bear canister means nothing if you don’t use it correctly.
What Goes Inside
Store all food, trash, toiletries, sunscreen, bug spray, lip balm, toothpaste, and anything else with a scent. Even items you wouldn’t think smell appetizing (like fuel canisters that may have spilled) should go in if possible.
Packing Your Canister
Remove excess packaging before your hike to maximize space. Repackage items in zip-top bags. Place heavier items at the bottom for stability. Fill empty spaces with soft items like socks or a beanie to prevent rattling.
Where to Place It at Night
At camp, place your bear canister at least 100 feet from your sleeping area, ideally downwind. Set it on flat ground, not near a cliff or slope where a bear might accidentally knock it down a hill. You don’t need to hide it, but don’t place it directly on the trail.
Do not tie or strap your canister to anything. If a bear gets interested, you want the canister to move freely rather than creating an anchor point the bear can leverage.
Opening and Closing
Practice opening your canister at home before your trip. Some designs require specific techniques, and fumbling with it in the dark or cold is frustrating. Ensure the lid locks completely every time. An improperly closed canister is an open invitation.
Bear Canister Alternatives
In areas where canisters aren’t required, you have other options, though each has limitations.
Bear Bags and Hangs
The traditional method involves hanging your food from a tree branch using rope. This works in forests with suitable trees but requires skill and time. Bears in popular areas have learned to defeat many hanging methods. Weather and darkness make hanging difficult.
Ursack Bags
The Ursack is a soft-sided, bearproof fabric bag made from ultra-high-molecular-weight polyethylene. It’s lighter than hard canisters but must be tied to a tree. Bears can crush the contents (though they can’t tear the bag open), potentially ruining your food. Ursacks are approved in some areas but not others.
Bear Boxes and Cables
Many campsites provide metal bear boxes or cables for hanging food. These are excellent when available but limit your camping flexibility to designated sites.
Practical Tips for Thru-Hikers
Sitting and Packing
Your bear canister doubles as a camp stool. It’s also useful for storing items you want to keep dry or protected during the day.
Winter Considerations
In winter or shoulder seasons with reduced bear activity, some areas relax canister requirements. Always verify current regulations.
Rental Options
If you only need a canister for one section, consider renting from outfitters near the trailhead. This saves money and shipping hassles.
Resupply Strategy
Plan your resupply boxes with canister volume in mind. Dense, calorie-rich foods pack more efficiently than bulky items.
Testing Fit
Before purchasing, verify your chosen canister fits in or straps to your backpack. Some packs have specific bear canister compartments, while others require external strapping.
The Bottom Line
Bear canisters represent a small weight penalty for massive peace of mind. They keep bears wild, protect your food investment, and let you camp with confidence in bear country. For thru-hikers, understanding when and how to use them properly is fundamental trail knowledge.
Research your specific trail requirements, choose a canister that balances weight and capacity for your needs, and practice using it before you hit the trail. The wilderness and its wildlife will thank you.
Now get out there and hike responsibly. The trail is waiting.