When you are new to hiking and putting rough miles in daily, your poor feet tend to pay the heavy burden of blisters and damage, so how do I toughen my feet for hiking?
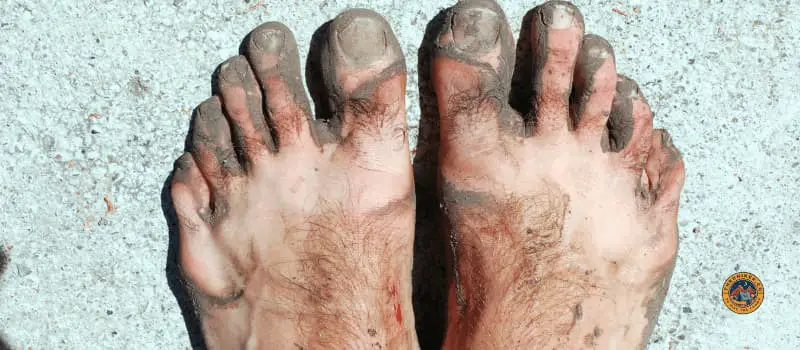
Building up calluses is the best way to toughen up your feet, these form where friction builds up consistently. Calluses can take weeks to build, so getting out walking on uneven surfaces, walking barefoot, and carrying a fully loaded pack can help kickstart the growth.
Calluses alone aren’t the only thing that can help toughen up your feet, as there are some easy tips and strategies to learn that can help you over months and months of travel.
Why Toughen Your Feet for Hiking?
Tough feet mean building up their resiliency to wear and tear the trail will throw at them. This includes everything from building up calluses to preventing blisters to warding off fungal infections.
There isn’t one perfect way to “toughen” your feet, as different people have different foot types that require different approaches.
Why Should You Toughen Your Feet?
Your feet will dictate your thru-hike. If your feet develop issues, this will demolish any chance for progress and will eat away your money saved for your trek. You need your feet to be the most robust and durable thing on the trail, so you can focus on making miles and enjoying the scenery.
If your feet aren’t adequately prepared for the elements, they will get torn up, and this can lead to massive and frequent blistering or worse, with constant rain and poor foot care, you can end up with trench foot.
When to Start Toughening Feet for Hiking
If your focus is on calluses, then at least 3-4 weeks prior will be needed to start building the tough skin.
But proper preparation of your feet should be done months in advance to build them up over time. Marathon runners have even used tannic acid from tea to soak their feet, which is said to help toughen them up.
To toughen them, you want to hike with full gear, preferably on trails and not concrete. This will help you build up the foot ligaments and their overall durability.
How Long it Takes to Toughen Feet
This depends on the individual and their feet, along with their training regimen, if you are going out and roughing it in your hiking shoes, whether boots or trail runners or home on the concrete.
For some, it can take weeks to see a difference, while others might start to see results in just a matter of days.
This is not something where you should compare your results to another person, as there are so many variables to account for.
Let’s look at ways you can toughen up your feet.
5 Ways to Toughen Feet for Hiking
There are a few ways you can go about toughening up your feet, with the primary goal being to create thick skin to protect your foot from damage.
If you manage the below well your feet will be hardened and better suited for the months of torture soon to come.
Encouraging Callus Creation
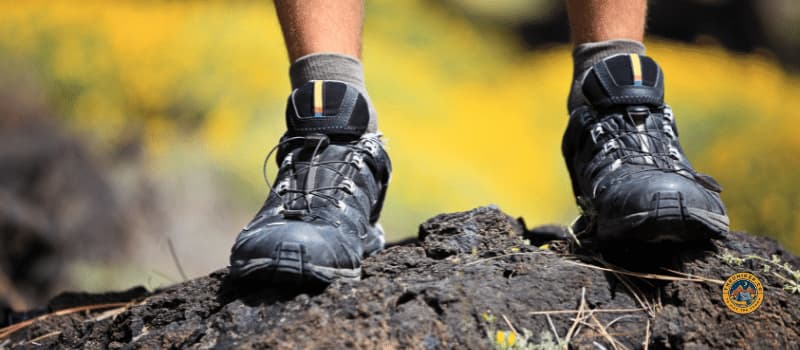
This means wearing your hiking shoes and socks, preferably exactly how you will on the trail, this helps the body learn the spots that are going to need the extra protection.
You can also use a pumice stone in the shower to help slough away any dead skin cells that might be getting in the way of calluses forming.
This should be a gradual process to avoid any irritation that might cause more problems down the line.

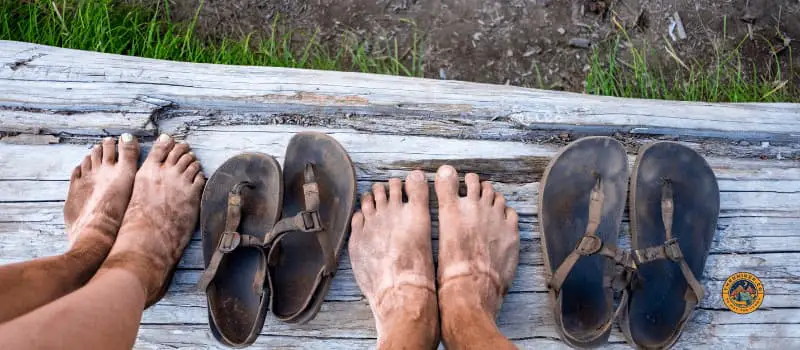
Walking Barefoot
Building up the bottom of your foot is good also for the muscles and ligaments that will have to perform on the trail.
Start by walking around your house barefoot as much as possible, or if you have access to a grassy area, even better.
You want to avoid any loose gravel or rocks that might cut your feet up before they are ready for the tough miles ahead.
Clip Your Toenails
Keep your toes well manicured to avoid any hangnails or ingrown nails, both of which can be extremely painful.
You should also avoid any corn pads or other products that might alter the way your foot functions and how it hits the ground.
Load on Your Backpack on Shakedown Hikes
To match hiking with clothing alone will not fully prepare your feet and legs, what you need to do is grab all your gear and go for a shakedown hike.
These are frequently short hikes, 1-2 nights, with all your gear to help you get used to the extra weight on your back and how this will change your foot strike.
Be sure to also start slowly with easy miles and then gradually increase the difficulty of the terrain as you build confidence in your abilities.
By the time you hit the real trail for the full length, you will be more than prepared for the challenges that come.

Walk On Rough & Uneven Surfaces
This helps build up the foot muscles and tendons, making them tougher and able to handle the rigors of the trail. You can do this by walking on different surfaces like sand, gravel, or even rocks.
This will also help your balance and coordination as you have to adjust your foot placement constantly. As trails are full of roots and obstructions only getting time on these rough surfaces will prepare you.
Do not forget to also focus on the range of motion in your ankles as they will have to be able to flex and extend fully with each step.
7 Tips for Preventing Hiking Blisters
Sometimes you will get hot spots and blisters, while most can be avoided some you may not have as much chance beforehand to prepare your foot for so following these seven tips will help you out.
Break In Your Shoes
Try to avoid wearing new boots or trail runner right out of the box to start your hike, as this is when you are most likely to get blisters with a new shoe fit and the foot being unprepared.
Its best to wear them around town for a few weeks at a minimum and some may even push this to months if you can to help the shoes take the shape of your foot.
You want your shoes to be comfortable from day one so do not overlook this simple tip.
Wear the Right Shoes
This may seem silly but every person has differences in their feet, some swear by this shoe or that boot but the true story is that you need to find the shoe that fits you perfectly and provides the support you need.
This is why it’s so important to do the break-in listed above and get to know how they feel as it will make all the difference on long hikes.
This way if they aren’t going to be good you can catch and purchase a replacement well before the trail starts.

Sock Strategy
There are different types of socks for different activities, with hiking you want to avoid cotton and look for a wool blend or something that has moisture-wicking properties.
This will help keep your feet dry and reduce the chance of blisters forming. You should also make sure your socks fit well and are not too tight or too loose.
Wearing two pair of socks can also help, with a thinner sock liner (like Injinji liner socks) underneath a thicker wool sock (Like merino wool-based Darn Tough socks), this double sock setup can help reduce friction.
Do not forget to carry a pair of extra socks with you on the trail in case your feet do get wet so you can change into a dry pair, some may carry two pairs of socks with a set specifically for sleeping.
Keep Your Feet Dry
While not possible when in motion when longer breaks come you should think about taking off your shoes and socks to let them and your feet breathe and dry out thoroughly.
When you reach camp for the night removing your shoes and having a pair of nighttime socks and camp shoes can help you get a good start on drying out your feet for the night and the next day.
If you have the chance hanging up your wet socks and shoes can help, but if not at least try to keep them off the ground and preferably in as much direct sun as possible to kill bacteria and dry.
If you have feet that sweat pretty heavily then you can look to add some foot powder, baby powder, or something like gold bond to your routine to help keep things dry.
Air Out Feet Regularly
Let them dogs breathe! No seriously, try to take your shoes and socks off every chance you get when stopped to give your feet some time out of them.
If you are in town or by grass take the opportunity to go barefoot even if only for a short walk as this will help keep your feet toughened up and also let them air out and dry.
Use Leukotape Early and Often
If you feel a hot spot developing stop immediately and start to apply Leukotape (or similar sports tape) to the area, this will help cover the irritated area and give it the time to heal without forming a blister.
If you have already developed a blister make sure you clean it well and then dry completely before applying the tape as this will help it stick better and also keep any dirt or bacteria out.
Lance Your Blisters
If you do get a blister the fluid buildup will cause issues being comfortable in your shoes and can make the blister prone to infection.
If you have a large blister it is best to lance it with a sterile needle, letting the fluid out, and then following up with Leukotape as mentioned above.
Smaller blisters can often just be left alone to heal but may need some tape for added protection.
Moisturize Your Feet
This helps with the overall health of your skin and helps to prevent any cracking that can lead to infection.
You want to focus on the areas between your toes and on any dry patches that might be starting to form.
There are a few different foot creams that you can use, just make sure to avoid anything with petroleum jelly, as this can actually trap in moisture and lead to more problems.
Final Thoughts on Toughening Your Feet for Thru-Hiking
Hopefully, you have learned a few things about how to toughen your feet for thru-hiking and how to avoid developing blisters in the first place.
Of course, the best way to toughen your feet is simply by putting in the miles and getting them used to being on the trail day after day.
But following these tips can help you avoid any unnecessary issues and make sure your feet are in top condition for whatever long-distance adventures you have planned.


Leave a Comment