
This website uses affiliate links which may earn a commission at no additional cost to you. As an Amazon Associate I earn from qualifying purchases.
When you’re planning your first thru-hike, it’s easy to obsess over the big gear: your pack, tent, and sleeping bag. But experienced thru-hikers will tell you that what’s inside your shoes or boots matters just as much. That’s where insoles come in, those removable footbeds that can make the difference between hiking in comfort and limping into camp each night.
What Are Insoles?
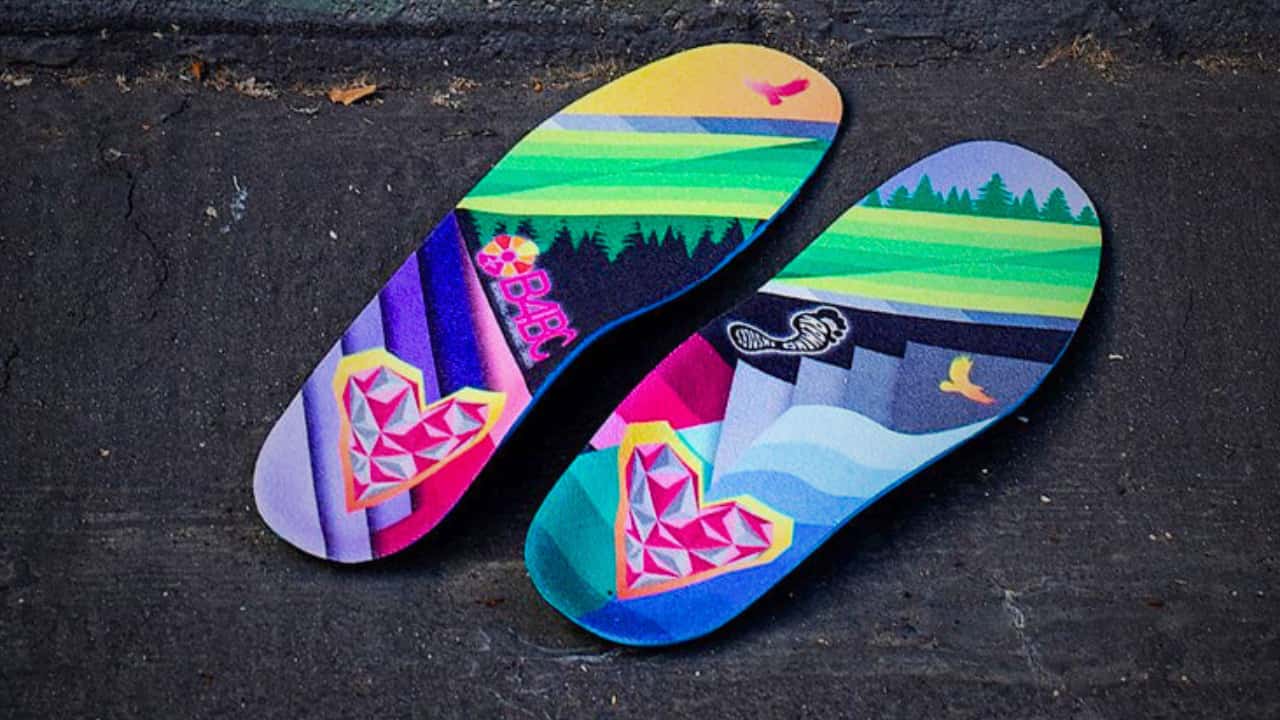
Insoles, also called footbeds or inserts, are removable layers that sit inside your hiking shoes or boots, directly under your feet. Most footwear comes with basic factory insoles, thin, generic foam pieces that provide minimal support. These stock insoles are designed to fit the average foot, which means they probably don’t fit YOUR foot very well.
Aftermarket insoles are specialized replacements designed to provide better cushioning, support, and stability than what comes standard in your shoes. Think of factory insoles as the earbuds that come with your phone; they work, but upgrading makes a noticeable difference.
Why Thru-Hikers Swap Out Their Insoles
Here’s a reality check: on a thru-hike like the Appalachian Trail (2,190 miles), Pacific Crest Trail (2,650 miles), or Continental Divide Trail (3,100 miles), you’ll take millions of steps. Each step creates impact forces that your feet must absorb. Over weeks and months, this repetitive stress can lead to serious problems.
Factory insoles simply aren’t built for this abuse. They compress quickly, losing their cushioning and support after just a few hundred miles. Most thru-hikers replace their stock insoles before even starting the trail, then replace those aftermarket insoles every 500-700 miles throughout their hike.
Swapping to quality insoles helps prevent common thru-hiking foot problems like plantar fasciitis, metatarsalgia (ball-of-foot pain), arch pain, and general foot fatigue. When your feet are happy, you can focus on enjoying the trail instead of counting down miles until you can take your shoes off.
What Insoles Actually Do
Quality insoles serve several critical functions:
Arch Support: Your arches act like springs, absorbing shock with each step. Proper arch support maintains your foot’s natural alignment and prevents your arches from collapsing under the weight of your pack. This is especially important when carrying 20-30 pounds on your back for hours each day.
Cushioning: Insoles add a protective layer between your feet and the ground, absorbing impact on rocky terrain, tree roots, and hard-packed trail. Better cushioning means less fatigue and reduced stress on your joints, not just in your feet, but all the way up through your knees, hips, and lower back.
Stability and Motion Control: Good insoles help control how your foot moves inside your shoe, reducing excessive pronation (inward rolling) or supination (outward rolling). This prevents your feet from sliding around, which causes hot spots and blisters.
Pressure Distribution: By spreading the forces across your entire foot rather than concentrating pressure on specific points, insoles help prevent pain in common problem areas like the heel and ball of foot.
Moisture Management: Many performance insoles feature moisture-wicking materials that help keep your feet drier, reducing the risk of blisters and the dreaded “trench foot” that can develop during multi-day wet conditions.
Types of Insoles for Thru-Hiking
Insoles generally fall into a few categories:
Cushioned Insoles: These prioritize shock absorption with thick, soft materials. They’re ideal if you have healthy arches and primarily want comfort on rough terrain. Popular with hikers who carry lighter pack weights.
Supportive/Structured Insoles: These feature firmer arch support and heel cups to control foot motion. They’re better for hikers who overpronate, have flat feet, or carry heavier packs. They may feel less cushioned initially but provide better long-term support.
Heat-Moldable Insoles: These can be heated (usually in an oven) and then molded to your specific foot shape as they cool. This custom-fit approach offers the best of both worlds, personalized support with good cushioning.
Volume Adjusters: Thin insoles designed mainly to take up space in shoes that are slightly too roomy. Less common for thru-hiking but useful if you size up for toe room.
Choosing Your First Pair
As a beginner, here’s what to consider:
Know Your Arch Type: Wet your foot and step on a paper bag. A complete footprint means flat/low arches; a thin connecting strip means high arches; something in between means neutral arches. Match your insole’s arch support to your arch type.
Consider Your Foot Issues: Do you already experience plantar fasciitis, knee pain, or other problems? Look for insoles specifically designed to address those conditions.
Think About Shoe Fit: Your trail shoes should have a thumb’s width of space at the toe. When you add thicker insoles, make sure your shoes aren’t suddenly too tight. You may need to remove the factory insole completely (which most hikers do anyway).
Try Before You Buy: If possible, test insoles at an outdoor retailer where you can walk around. What feels good in the store should feel better on trail.
Budget Appropriately: Quality insoles range from $30-$60. Yes, that seems expensive, but compared to the cost of new shoes every 500 miles ($100-150), insoles are a bargain that significantly extends shoe life and comfort.
Popular Options Among Thru-Hikers
While individual needs vary, certain brands dominate thru-hiking circles: Remind (my personal favorite being Destin), Superfeet (known for structured support), Currex (heat-moldable with dynamic arch support), Sole (heat-moldable with good cushioning), and Powerstep (budget-friendly support). Many hikers experiment with different brands before finding their perfect match.
When to Replace Your Insoles
Even the best insoles don’t last forever. Replace them when you notice:
- Visible compression or flattening, especially under the heel and ball of foot
- Decreased cushioning, if you’re feeling rocks and roots more than usual
- Increased foot pain or fatigue
- Physical deterioration like cracks, tears, or separation
Most thru-hikers replace insoles every 500-700 miles, though this varies based on your weight, pack weight, terrain, and the insole’s construction.
Final Tips for Beginners
Break them in: Wear new insoles for several shorter hikes before your thru-hike. This allows your feet and the insoles to adapt to each other.
Mail resupplies: Many hikers ship replacement insoles to themselves at trail towns, ensuring fresh support when needed.
Bring your insoles when shoe shopping: Always test trail shoes with the insoles you’ll actually use on trail.
Don’t forget camp shoes: After hiking all day in supportive insoles, your feet will appreciate the freedom of sandals or lightweight camp shoes.
Your feet will carry you thousands of miles on your thru-hike. Investing in quality insoles, and replacing them regularly, is one of the simplest, most cost-effective ways to keep them healthy and happy. Happy feet really do make for happy miles, and it all starts from the ground up.