
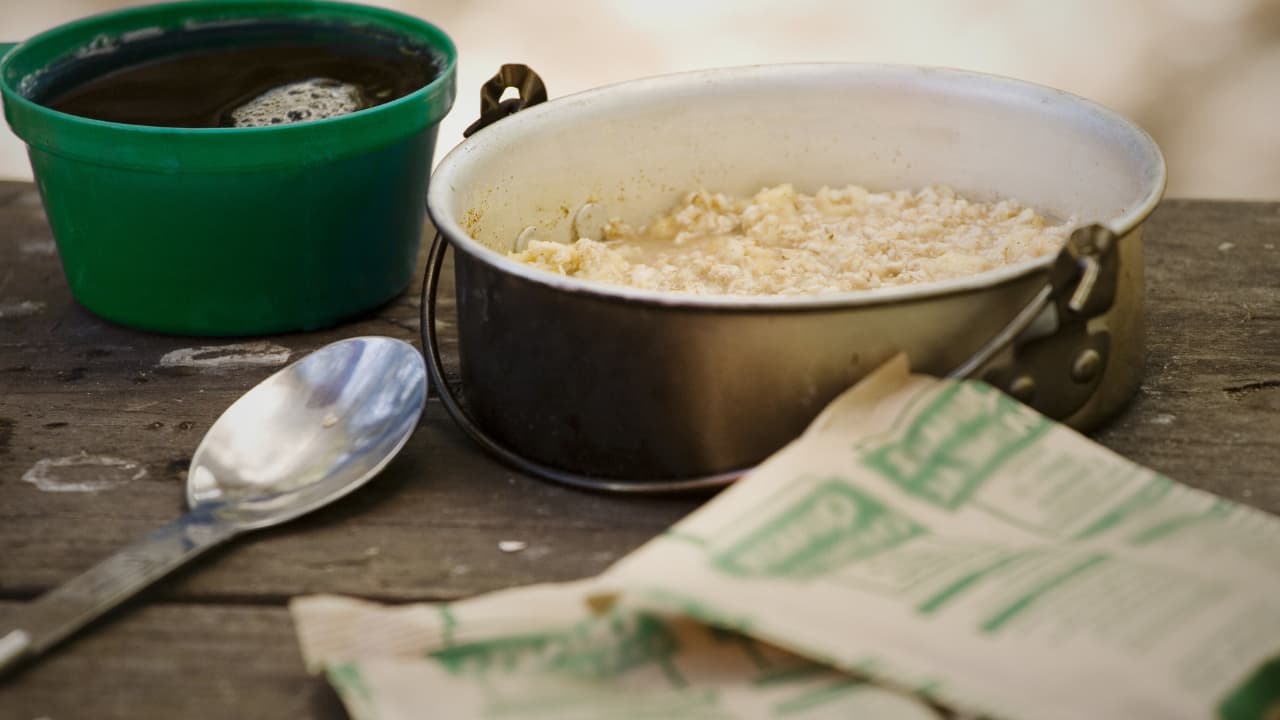
When you’re planning your first thru-hike, the gear choices can feel overwhelming. One decision that often surprises beginners is whether to carry a stove at all. Enter cold soaking, a lightweight cooking method that’s gained serious traction in the thru-hiking community over the past decade.
What Is Cold Soaking?
Cold soaking is exactly what it sounds like: rehydrating your food using cold or room-temperature water instead of boiling water. You add water to your dehydrated or dried foods, wait anywhere from 30 minutes to several hours, and eat. No stove, no fuel, no fire. Just food, water, time, and a container.
This method became popular among ultralight hikers looking to shed pack weight, but it has since spread to hikers of all styles who appreciate its simplicity and efficiency.
Why Hikers Choose Cold Soaking
The appeal of cold soaking goes beyond just cutting weight. Here’s why thousands of thru-hikers have ditched their stoves:
Weight savings are the most obvious benefit. A typical canister stove setup with pot, lighter, and fuel weighs 8-12 ounces. Over a six-month hike, that’s carrying an extra pound or more every single day. Cold soaking requires only a lightweight container, usually 2-3 ounces.
Simplicity matters on trail. After hiking 20+ miles, you’re exhausted. Cold soaking means no fiddling with fuel connections, no waiting for water to boil, and no cleaning a greasy pot. You add water, clip your container to your pack, and keep hiking while your dinner rehydrates.
Safety is another factor. You eliminate fire risk in dry conditions, you can’t burn yourself, and you won’t accidentally burn through your tent floor. Many hikers also find cold soaking safer in bear country because you’re not creating cooking smells at camp.
Cost savings add up. Fuel canisters cost money, and you’ll go through many of them on a long trail. Cold soaking is free after you buy your container.
Camp flexibility increases dramatically. You can eat anywhere without worrying about fire restrictions, you’re not limited to established cooking areas, and you can even eat while you hike.
The Essential Gear
The beauty of cold soaking is how little gear you actually need.
The Container
Your cold soaking container is your only critical piece of equipment. Most hikers use one of these options:
Plastic peanut butter jars are the most popular choice. Brands like Skippy or Jif have jars that hold about 32 ounces, weigh around 2 ounces, and are nearly indestructible. They’re wide-mouthed for easy eating and cleaning, and the lids seal well. Best of all, you eat the peanut butter first for calories on trail.
Talenti gelato containers work similarly. They’re lightweight, clear so you can see your food rehydrating, and the lids create a good seal.
Dedicated cold soak jars are sold by cottage gear companies like Fazeley’s Gear or Zpacks. These are purpose-built with measurements marked on the side and sometimes come with insulated sleeves. They’re lightweight but cost more than recycled jars.
Wide-mouth water bottles like Smartwater or Gatorade bottles can work in a pinch, but the narrow opening makes eating and cleaning harder.
Look for a container that holds at least 24-32 ounces, has a wide mouth, seals tightly to prevent leaks, and is durable enough to survive being strapped to your pack all day.
Optional Accessories
Most cold soakers keep it simple, but a few extras can help:
A long spoon makes reaching the bottom of deep jars easier. Many hikers use lightweight titanium or plastic spoons with extended handles.
An insulated sleeve or cozy can speed up rehydration time slightly by keeping water warmer, though this isn’t necessary.
Measuring tape or markers on your jar help you add the right amount of water without guessing.
Foods That Cold Soak Successfully
Not all trail foods are created equal for cold soaking. The key is choosing foods that rehydrate thoroughly without heat.
Excellent Cold Soaking Foods
Instant rice and couscous are the backbone of many cold soaking meal plans. They rehydrate in 20-40 minutes and have a pleasant texture. Instant white rice works better than brown rice.
Instant mashed potatoes become creamy and satisfying after about 30 minutes. Add in other ingredients to make them more interesting.
Ramen and instant noodles work surprisingly well. They take 30-60 minutes but become perfectly edible. Some hikers prefer them cold soaked to crunchy.
Instant oatmeal and grits are perfect for breakfast. They’re ready in 15-30 minutes and taste great cold.
Dehydrated refried beans rehydrate beautifully and provide good protein. Mix them with instant rice for a complete meal.
Instant pudding becomes a trail dessert when mixed with powdered milk and cold water.
Cold cereal is obvious but worth mentioning. It’s a no-soak cold meal that works great.
Powdered hummus rehydrates in cold water and pairs well with crackers or tortillas.
Dehydrated vegetables like corn, peas, and bell peppers work well when finely chopped or flaked.
Foods That Need Modifications
Some foods work but require planning:
Pasta is tricky. Regular pasta takes several hours to cold soak and remains chewy. If you want pasta, look for thin varieties like angel hair or use couscous instead, which is technically pasta and cold soaks excellently.
Dehydrated meals designed for hot water vary by brand. Mountain House meals generally don’t cold soak well, but some Good-To-Go meals and Backpacker’s Pantry options work if you give them extra time.
Protein powder and powdered milk dissolve better if you shake them vigorously before adding other ingredients.
Foods That Don’t Work
Some foods simply won’t rehydrate properly without heat:
Regular pasta (not instant or angel hair) stays crunchy even after hours of soaking.
Freeze-dried meats often remain tough and unpalatable without boiling water.
Dense beans like kidney beans or chickpeas won’t soften without cooking.
Some dehydrated vegetables like large carrot chunks stay hard.
Regular rice (not instant) won’t cook through in cold water.
How to Cold Soak: The Process
Cold soaking is straightforward, but timing matters.
Step 1: Add your ingredients to your container during a break or when you arrive at camp.
Step 2: Add cold water. Most foods need enough water to fully submerge them plus a little extra. This is usually a 1:1 ratio for instant rice or slightly more for noodles. Check your food packaging for guidance.
Step 3: Seal the container tightly and give it a shake to ensure everything gets wet.
Step 4: Wait. This is the key variable. Soak times range from:
- Instant oatmeal: 15-30 minutes
- Instant rice/couscous: 20-40 minutes
- Ramen noodles: 30-60 minutes
- Regular pasta or tough foods: 2-4+ hours
Step 5: Eat directly from the container to minimize cleanup.
Pro Tips for Better Cold Soaking
Add food during lunch and let it soak while you hike the afternoon miles. Clip your jar to the outside of your pack so you don’t forget about it. By dinner time, everything is ready.
Use warm water when possible. If you’re near a natural hot spring or can fill up with warm water at a gas station, it speeds up rehydration significantly.
Break up ingredients before soaking. Crush ramen noodles into smaller pieces, chop vegetables finely, and break up clumps of instant potatoes for faster rehydration.
Experiment at home first. Try different foods and timing in your kitchen before you’re 100 miles from the nearest town.
Season generously. Cold food can taste bland, so carry extra spices, hot sauce, olive oil, or seasoning packets to make meals more enjoyable.
Layer ingredients strategically. Add slower-rehydrating foods first, then faster ones later if you’re making a complex meal.
Nutrition and Meal Planning
Cold soaking works for getting calories, but you need to plan for nutritional balance.
Carbohydrates are easy. Instant rice, couscous, oatmeal, and noodles provide plenty of energy for hiking.
Fats come from olive oil, nut butters, cheese, nuts, and seeds added to your meals. These are crucial for calorie density.
Protein requires more creativity. Powdered hummus, dehydrated refried beans, protein powder, shelf-stable tuna or salmon packets, pepperoni, hard cheeses, and nuts all work well with cold soaking.
A typical cold soaking meal plan might look like:
- Breakfast: Instant oatmeal with powdered milk, dried fruit, nuts, and brown sugar
- Lunch: Tortilla wraps with peanut butter, honey, and banana chips (no soaking needed)
- Dinner: Instant rice with dehydrated refried beans, olive oil, and hot sauce
- Snacks: Trail mix, bars, candy, chips, jerky
Common Challenges and Solutions
“My food tastes bland.” Cold food naturally has less aroma and flavor. Combat this by carrying a variety of seasonings: garlic powder, onion powder, chili flakes, curry powder, taco seasoning, soy sauce packets, and hot sauce. Don’t be shy with fats like olive oil, which carry flavor.
“I’m still hungry.” Cold soaking doesn’t change the calories in your food, but the satisfaction might feel different. Some hikers find cold meals less satiating. If this is you, increase your portion sizes or add calorie-dense fats like oil, nut butter, and cheese.
“The texture is weird.” Cold soaked foods do have a different texture than hot meals. Some people adapt quickly, others never enjoy it. Give yourself a week on trail to adjust before making a final decision.
“My food isn’t rehydrating.” You may need more water, more time, or warmer water. Also ensure you’re using instant or quick-cooking varieties of foods, not regular versions.
“I miss hot food.” This is the most common complaint. Some hikers never adjust to cold soaking and return to carrying a stove. Others find they only miss hot food in cold weather and carry a stove for winter hikes.
When Cold Soaking Might Not Be Right
Cold soaking isn’t for everyone. Consider a stove if:
You’re hiking in cold weather. Hot meals provide comfort and warmth when temperatures drop. Many hikers cold soak in summer but carry a stove for shoulder seasons.
You value the social aspect of cooking. Gathering around a stove with fellow hikers is a bonding experience that cold soaking eliminates.
You have specific dietary needs that are easier to meet with hot cooking.
You simply enjoy hot food. There’s no shame in carrying a stove if it makes you happier on trail.
Many thru-hikers start with a stove and mail it home after a few weeks when they realize they rarely use it. Others carry a tiny alcohol stove for morning coffee but cold soak all other meals. Find what works for you.
The Bottom Line
Cold soaking is a legitimate cooking method that works well for many thru-hikers. It saves weight, simplifies camp chores, and provides adequate nutrition for long trails. The trade-off is that you eat room-temperature meals and need to plan ahead.
Try cold soaking at home for a few days before your hike. If you find it tolerable or even enjoyable, you’ll save pounds of weight and enjoy the simplicity on trail. If you hate it, at least you learned before investing in unnecessary gear.
Remember: thru-hiking is your adventure. Whether you cold soak, cook gourmet meals on a stove, or mix both approaches, the best system is the one that keeps you fed, happy, and moving down the trail.