
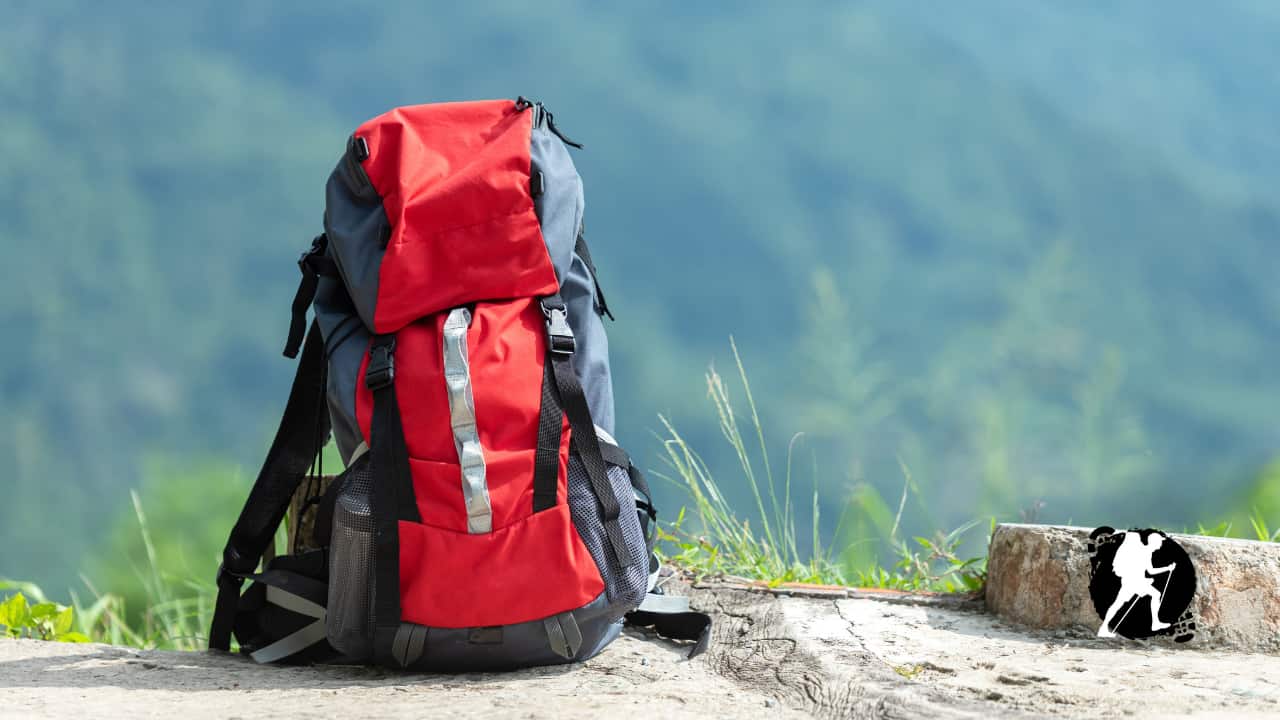
Your backpack will be one of your most essential pieces of gear. It carries everything you need for months on trail, sitting against your body for 8-12 hours a day through all kinds of terrain. The difference between the right pack and the wrong one isn’t just comfort. It’s the difference between finishing your hike and going home early with injuries. Getting three things right matters most: choosing a pack that fits your body, adjusting it properly, and packing it smart.
Choosing Your Backpack
There’s no single perfect backpack. Your body is different from everyone else’s, and what works for your hiking partner might feel terrible on you. The only way to find your pack is to try multiple options with weight inside. Most outdoor stores will let you load a pack with 20-30 pounds and walk around the store or even outside. Take advantage of this. Fifteen minutes of testing now saves months of pain later.
When you’re comparing packs, focus on what actually matters. Size comes first because buying too large will tempt you to overpack. Most thru-hikers do well with 50-65 liters depending on whether you’re carrying camping gear. Ultralight hikers often drop to 40-50 liters. Bigger isn’t better when every ounce on your back adds up over thousands of miles.
Fit and comfort separate good packs from great ones. Pay attention to how the hip belt sits on your hips, whether the shoulder straps dig in anywhere, and if the back panel matches your torso length. You should be able to swing your arms naturally and turn your head without the pack shifting. The frame should disappear once it’s adjusted right.
Features matter less than you think. You don’t need a dozen pockets and compartments. Many experienced hikers prefer simple packs with one main compartment and maybe a top pocket. What you do need: durable materials, quality zippers, and a hip belt that can actually carry weight. Look for packs made to last multiple trails, not just one season.
Packing Strategy
How you pack matters as much as what you pack. The basic principle is simple: keep heavy items close to your back in the middle section. This keeps your center of gravity over your hips where your strongest muscles can carry the load. Get this wrong and you’ll feel like you’re fighting your pack all day.
Start with your bottom section for light, compressible gear. Your sleeping bag goes here, along with spare clothes and anything you won’t need until camp. If these items get crushed under everything else, that’s fine. They’re designed for it.
The middle section against your back is prime real estate. This is where your heaviest items live: food bags, water bladder or bottles, cooking gear, first aid kit, and your tent body. Pack these items vertically when possible so the weight doesn’t pull backward. Your water should be easy to refill without unpacking everything.
The top section and lid hold items you need during the day. Rain jacket, snacks, sunscreen, maps, and your phone all go here. Some hikers keep a small stuff sack of essentials they can grab fast. You’ll be stopping for these items multiple times a day, so accessibility beats organization.
Side pockets and external attachment points work for water bottles, wet gear, and items you’re drying out. Your tent poles and pad can strap outside if needed, though keeping weight inside the pack is generally better for balance.
One critical rule: keep your sleeping bag and electronics dry no matter what. Use waterproof stuff sacks or pack liners. Rain will find its way in eventually, and a wet sleeping bag can end your hike in cold weather.
Fitting Your Pack
A properly fitted backpack transfers weight from your shoulders to your hips. Your hip bones and legs are built to carry loads. Your shoulders and back are not, at least not for 2,000+ miles. Getting this adjustment right is the single most important thing you can do for comfort.
Start with the hip belt. Loosen everything else and put the pack on. The padded part of the hip belt should wrap around the top of your hip bones, not your waist. Position it there and tighten it firmly. You should feel the weight settle onto your hips. If the belt rides up on your waist or slides down, the pack is the wrong size or needs adjustment.
Next adjust the shoulder straps. Pull them snug enough that the pack stays close to your back but loose enough that your hips carry most of the weight. You should be able to slide your fingers under the straps without much effort. If the straps are digging into your shoulders, your hip belt isn’t tight enough or positioned correctly.
The load lifter straps angle up from your shoulder straps to the top of the pack. Tighten these to pull the top of the pack toward your back, which keeps it from leaning away. The angle should be about 45 degrees when adjusted right.
Finally, adjust the sternum strap across your chest. This keeps the shoulder straps from sliding off your shoulders during side-to-side movement. It should be comfortable but not restrictive. You still need to breathe.
Check your fit throughout the day. As you drink water and eat food, your pack gets lighter and straps may need retightening. After a few hours of hiking, you might need different adjustments than you did in the morning. Pay attention to hot spots or pressure points and fix them before they become problems.
Weight Distribution Matters
Even with perfect packing, how you carry matters. On flat terrain, you want weight centered and high. On steep descents, lower is more stable. Some packs have adjustable frames or compression straps that let you shift the load. Use them.
Your pack should move with you, not against you. If it’s bouncing or swaying side to side, something’s wrong. Tighten compression straps to cinch loose gear. Make sure nothing heavy is swinging free inside. The more solid your pack feels, the less energy you waste fighting it.
Watch your posture too. A good pack lets you walk upright with your natural stride. If you’re leaning forward or arching your back, the weight isn’t distributed right. Stop and adjust before you develop bad habits or injuries.
Breaking In and Adjustments
Don’t wait until day one of your thru-hike to test your system. Take training hikes with a fully loaded pack using the same weight you’ll carry on trail. Your body needs time to adapt, and you need time to discover what works. Maybe that top pocket you thought was essential is actually annoying. Maybe your water bladder leaks. Find out now.
Pay attention to what hurts and why. Hip belt chafing means you need better positioning or different padding. Shoulder pain means weight distribution is off. Lower back pain often means your hip belt isn’t carrying enough load. Most problems have solutions if you catch them early.
Remember that your pack will feel different when you’re tired, hot, or climbing steep terrain. Test it in various conditions before you commit to months on trail. Some hikers realize they need a different pack entirely. Better to know before you’re 500 miles from home.
Common Mistakes to Avoid
New thru-hikers often make predictable mistakes. Overpacking is number one. If your pack weighs 35+ pounds with food and water, you’re probably carrying too much. Most successful thru-hikers keep their base weight under 20 pounds.
Hanging too much gear outside looks experienced but actually creates problems. External gear catches on branches, shifts your balance, and gets wet in rain. Keep it inside unless you have a specific reason not to.
Ignoring small discomforts early on leads to big problems later. That minor hot spot on day two becomes a raw wound by day ten. Stop and fix issues immediately.
Finally, don’t assume expensive means better. Some of the best packs for thru-hiking are simple, durable designs from smaller companies. Focus on fit and function, not brand names or fancy features.